Showing posts with label Modeling. Show all posts

Sunday, July 21, 2013

More Members Joining the Venerable Club


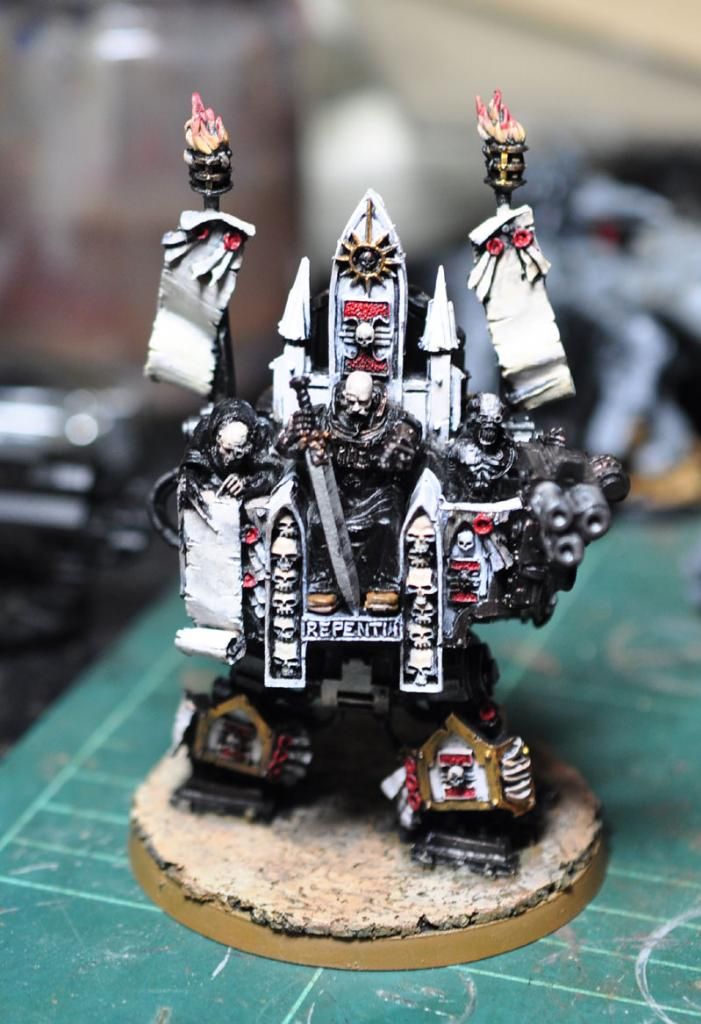
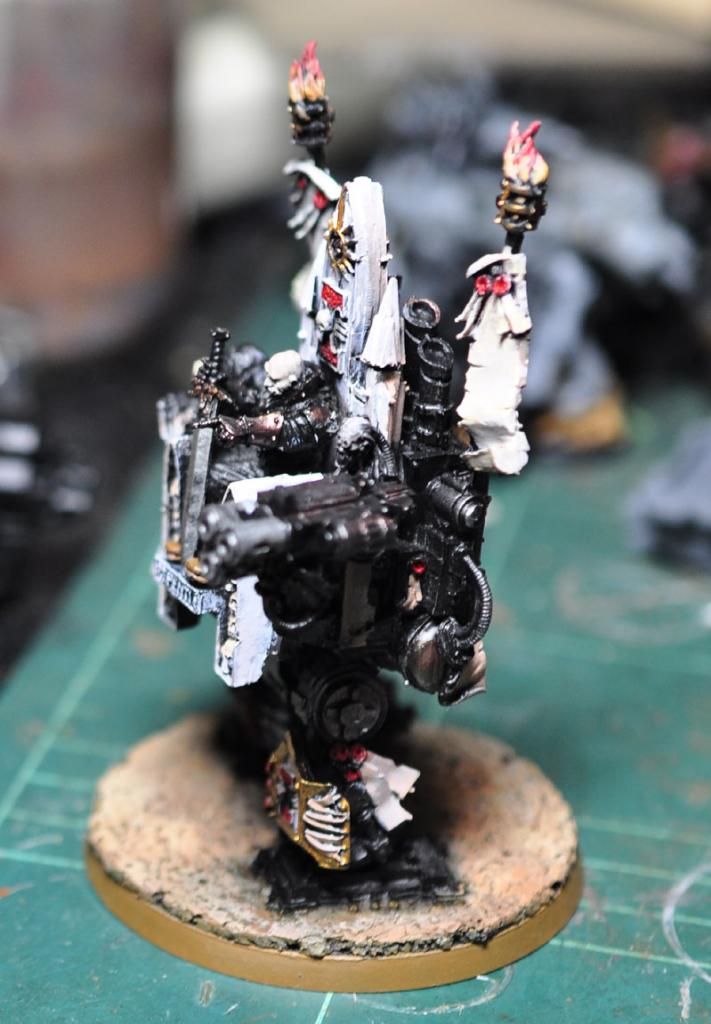
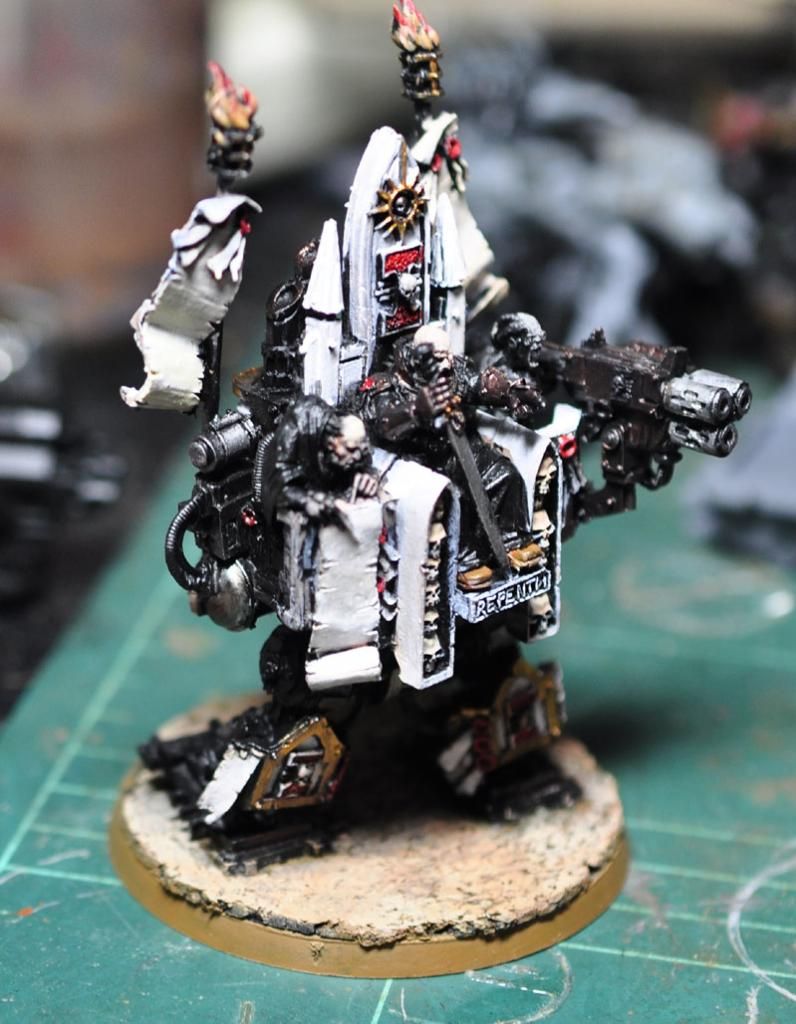
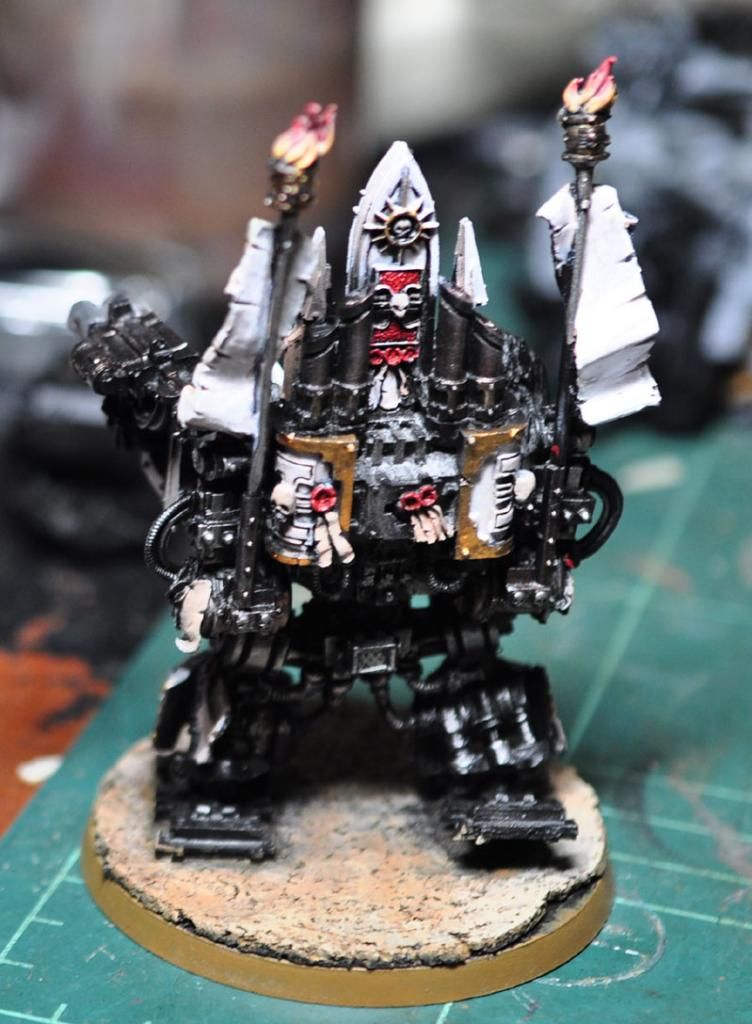
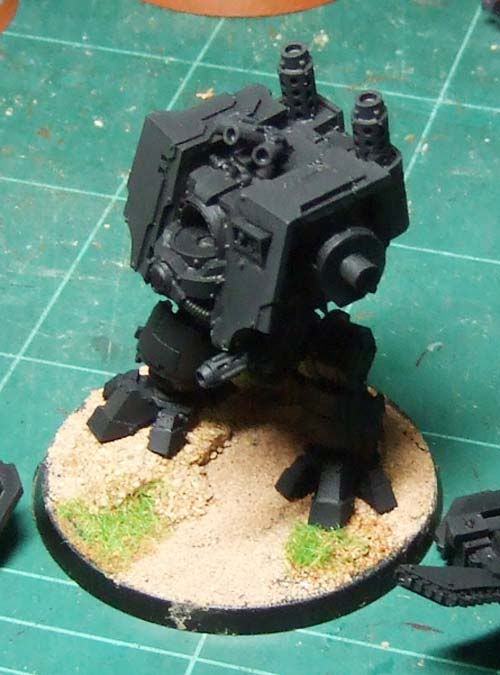
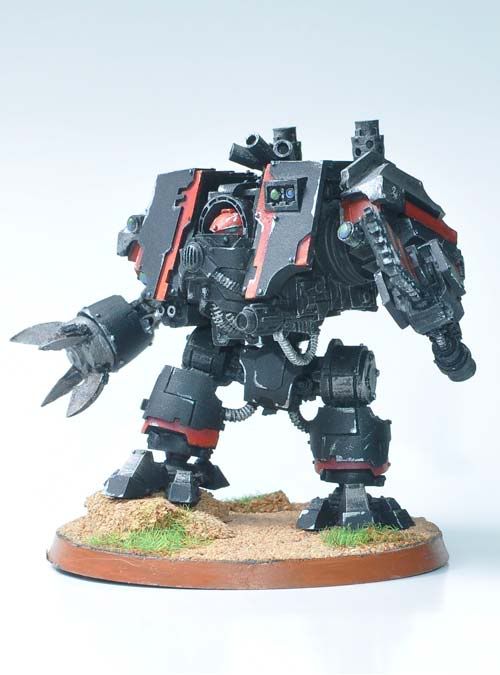
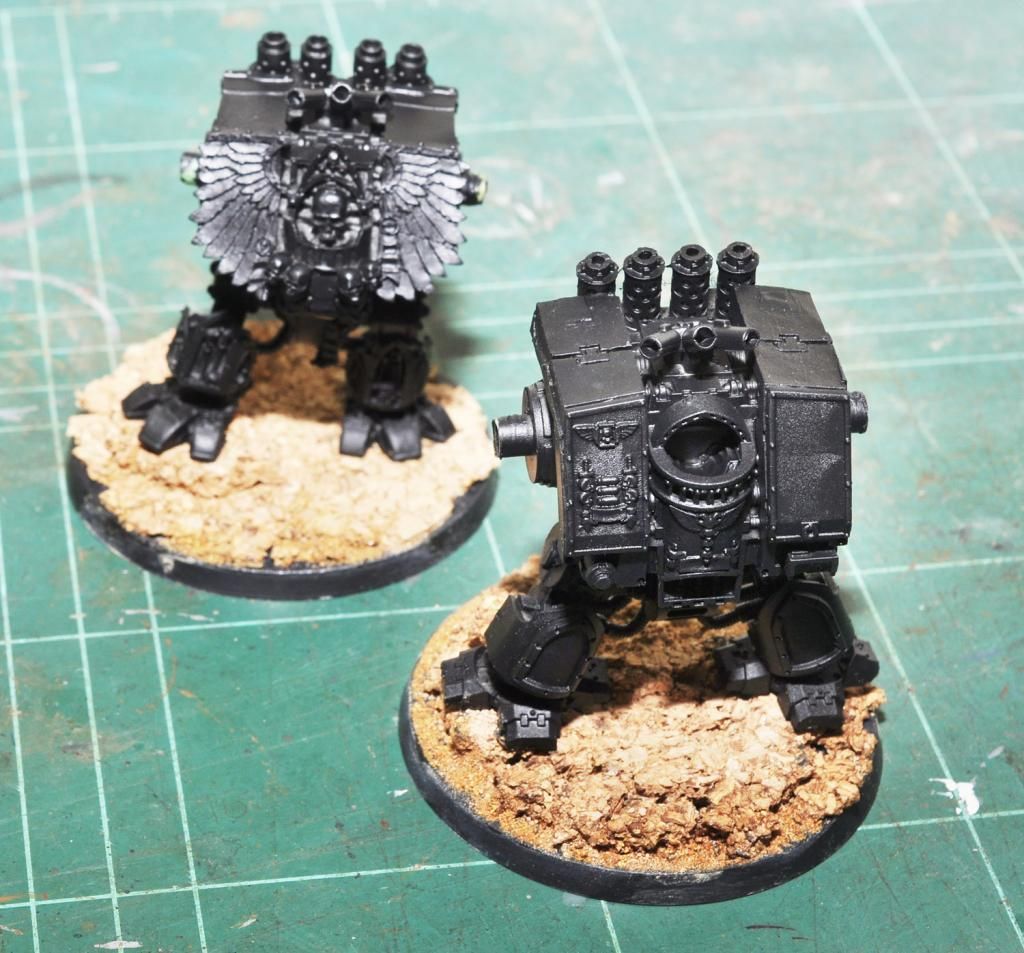
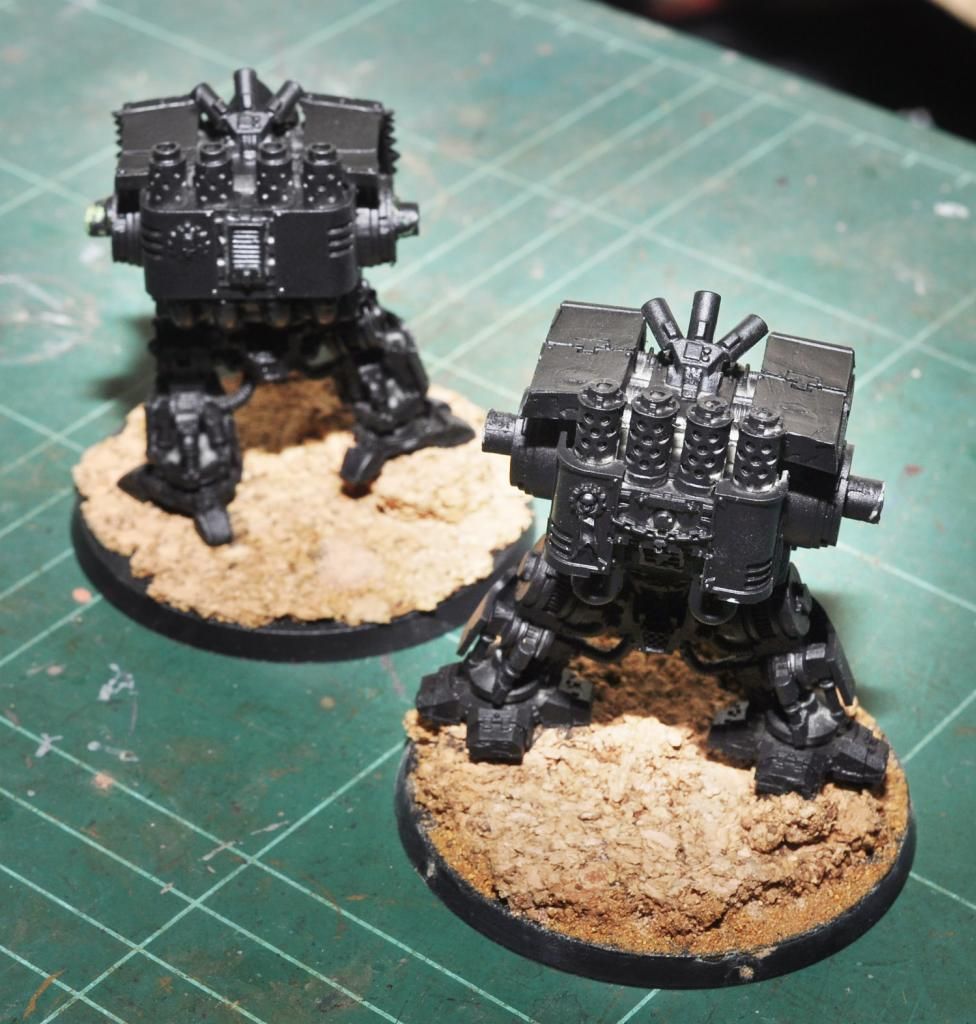
It could be because I recently bought the latest Apocalypse rule book or it could be also of a TV series which inspired me a bit anyway I am turning into over drive mode for modelling and finishing two dreadnoughts I had in stock for some time.

 A good old GW plastic venerable dreadnought and a resin Forge World Chaplain Dreadnought which I snipped from Ebay a long while back. I started on the afternoon and managed to assembled and primed both dreads and had the Chaplain dreadnought done to about 85%, not too shabby for a day's work.
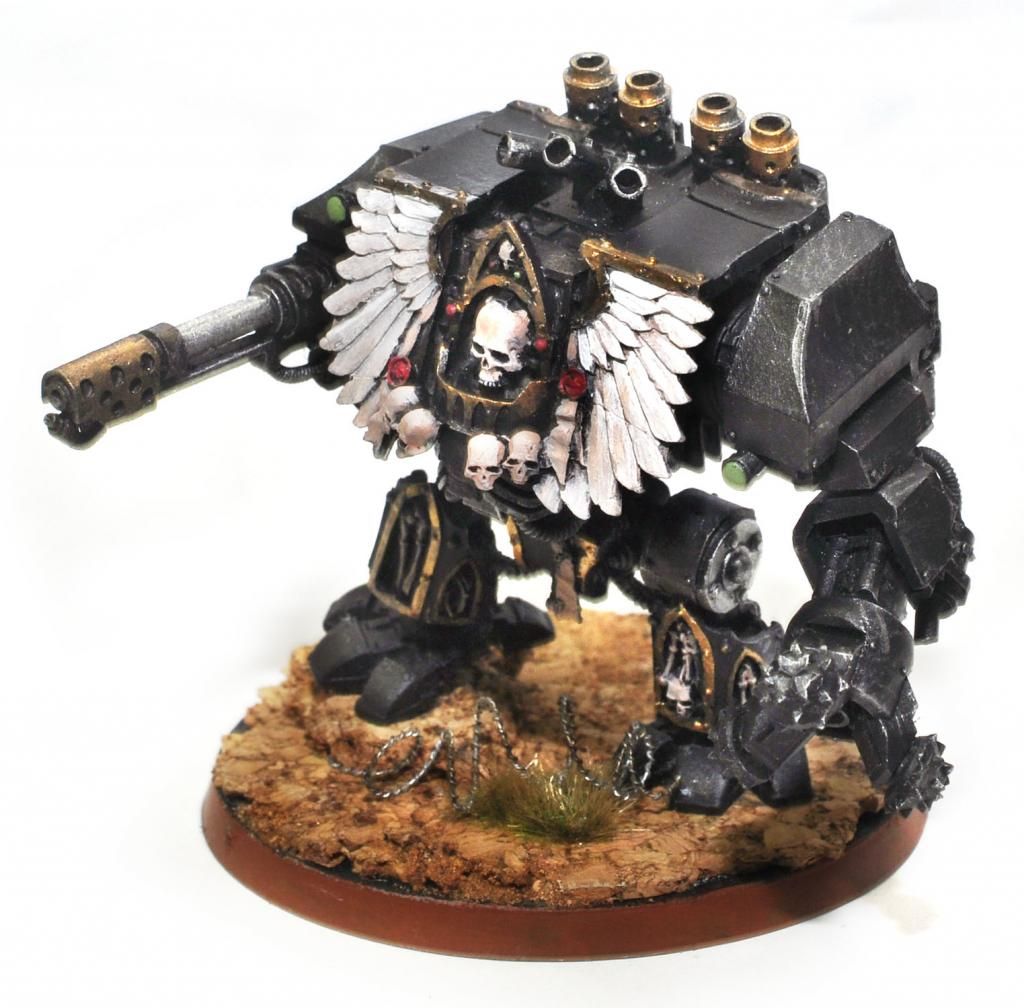

Inferno canon... the ultimate reason to quit smoking

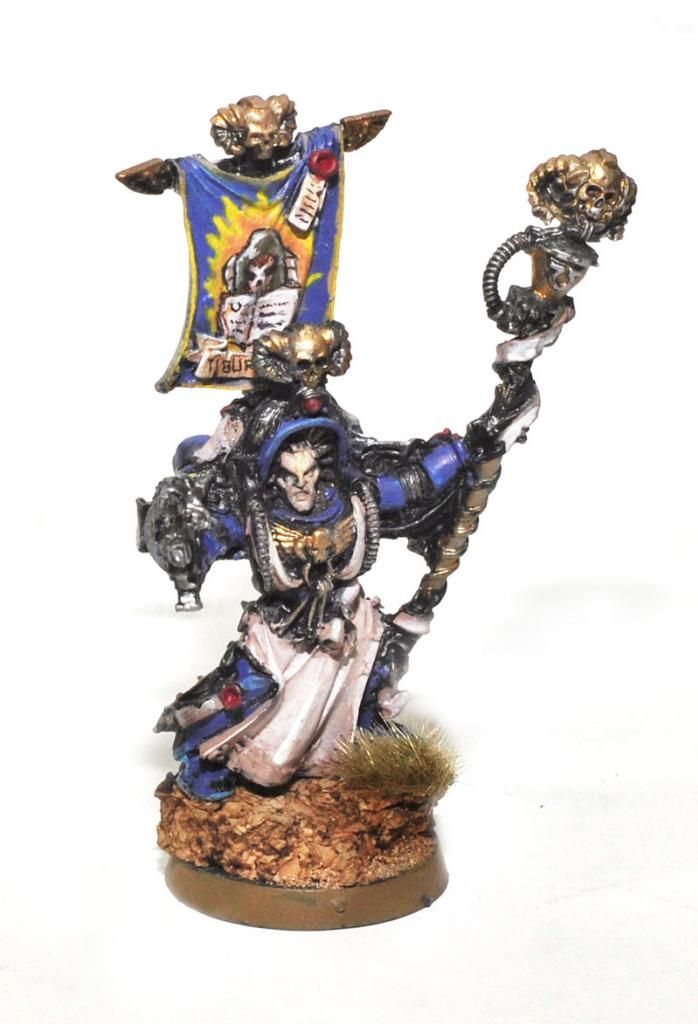
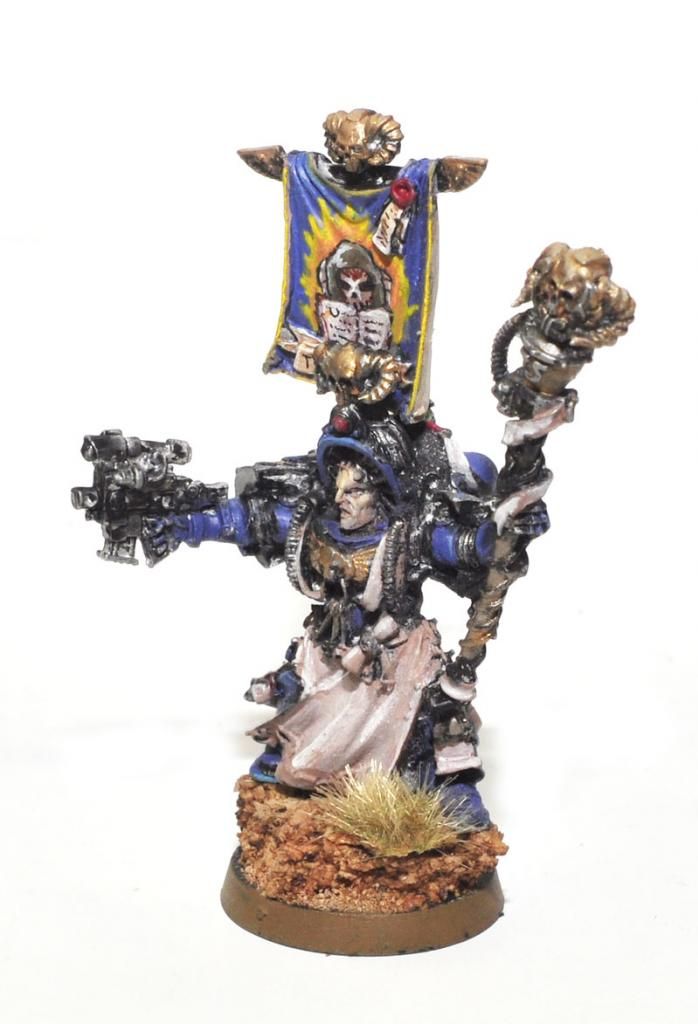
Also recently done, the chief Librarian of Ultramarine himself, clocking at a ridiculous point cost at the current codex I doubt he will see a battle field any time soon, but then again there is always the chance of Apocalypse...


Monday, May 13, 2013

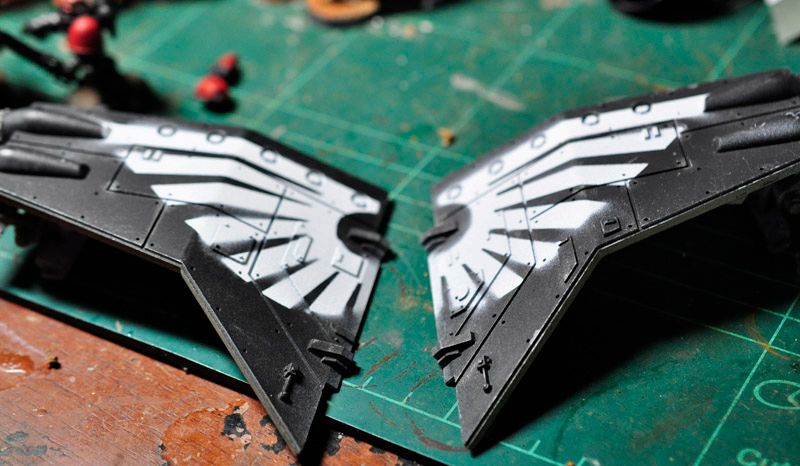
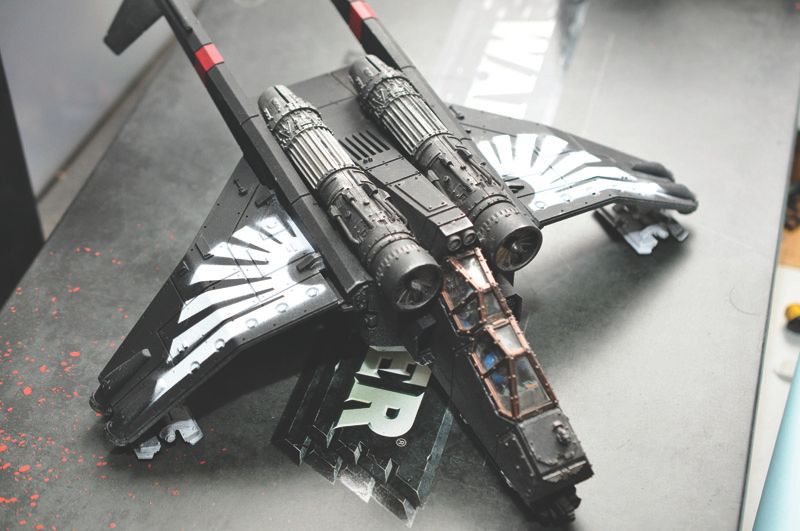
Getting the Imperial Eagle Wing onto Your Vendetta / Valkyrie

Yes I ran a squadron of vendettas on some of my lists, their frequent appearance demand that I add some spice to their otherwise dull appearance ( for I "painted" them in... ahem, black) so having some free time on hand I finally decide it is time to get my butt on working on their "winged" look.
While process seems straight forward enough I have no doubt some of you can benefit from my experience while working on it, not to mention the free template.
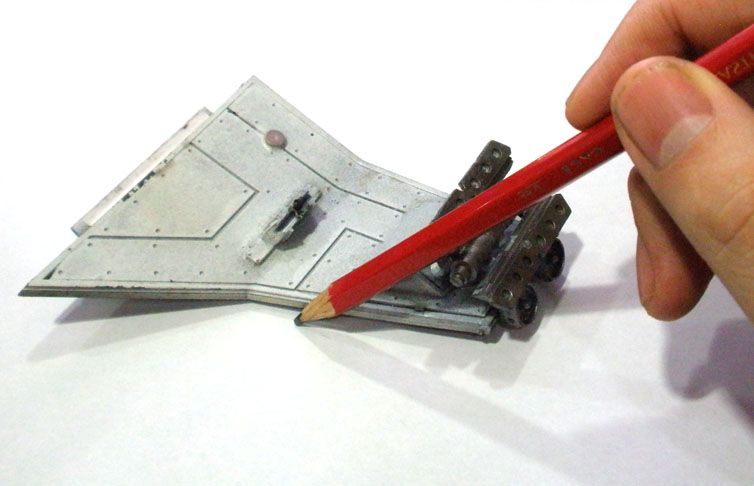
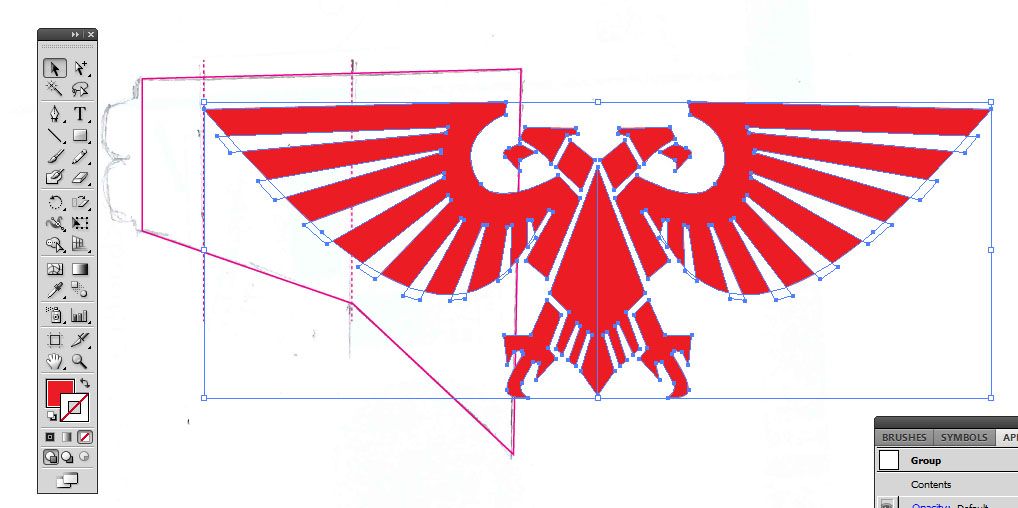
First, trace a wing.


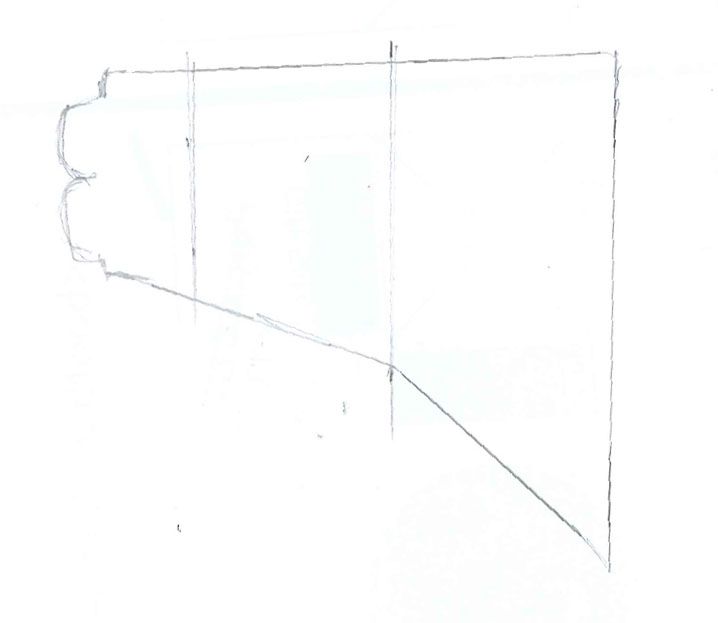
Then scan the tracing result.
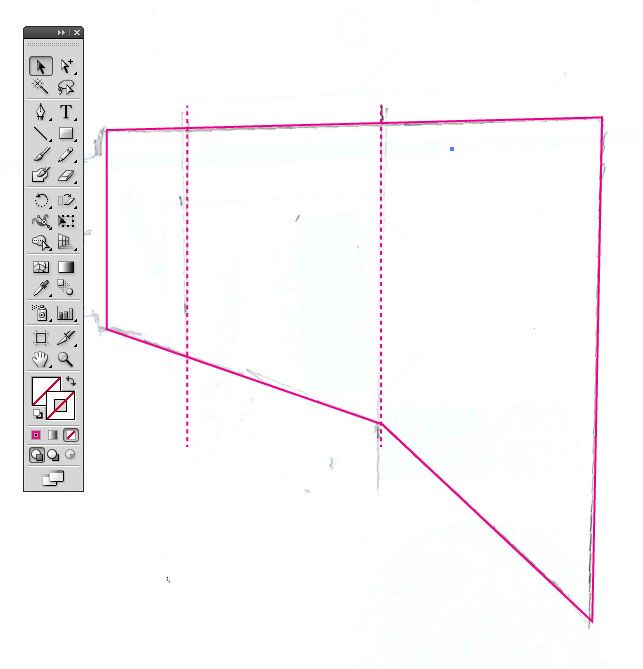
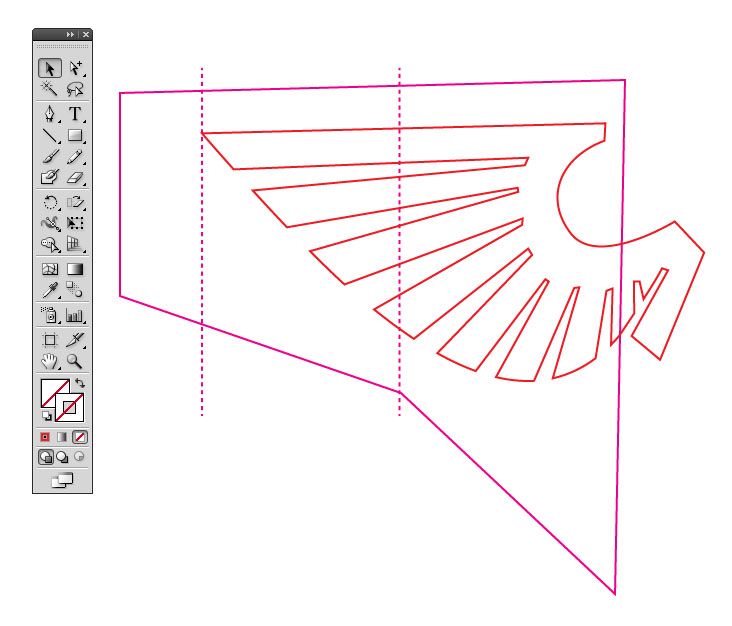
Working in Adobe Illustrator, digitize the tracing. 

The Imperial logo is something I have traced a long while back, now it comes in handy.

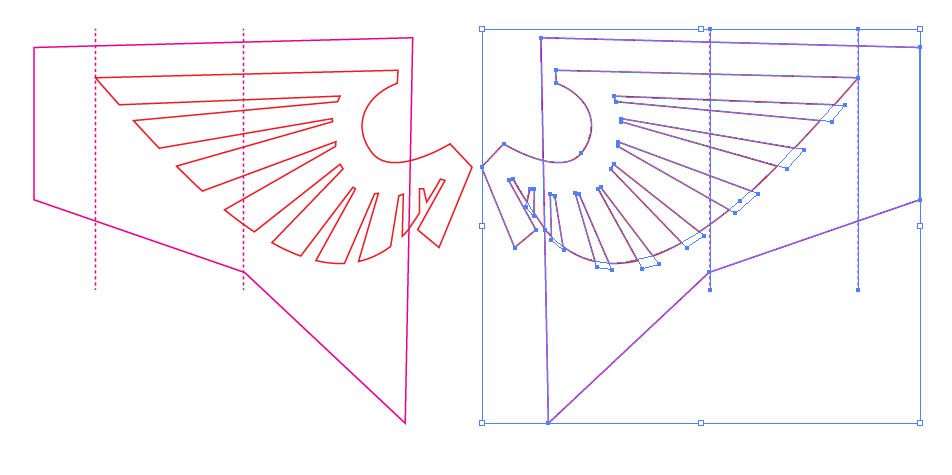
Remove excess components.

Do a mirror replication.

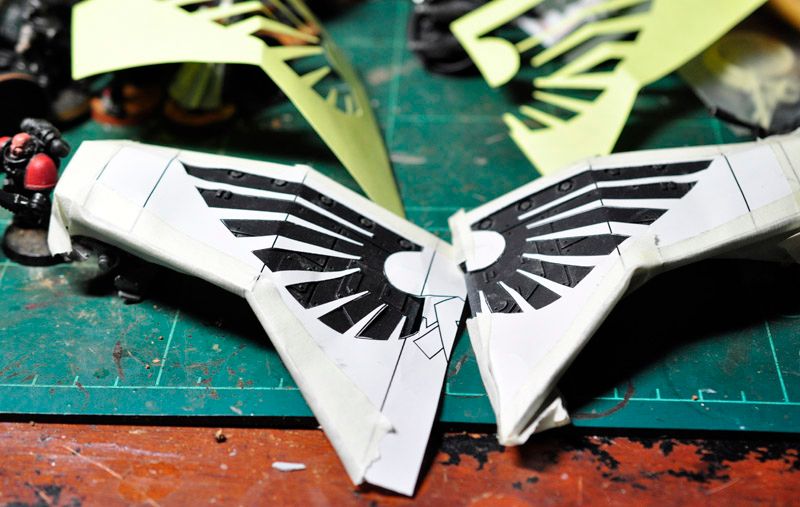
Print the result onto sticker and cut them out carefully, use the nuts and bolts
on the wing as cue on making sure both wings are parallel in height
... last thing you want is a pair of off balance wings.
After careful masking spray the color you want for the wings

How painfully you mask your wings will determine the quality of the final result.
Stickers quality will also come into play, it is up to you to experiment.
The final result on the bird, by using only cheap spray and run the mill sticker,
it is a result I can live with... the only question left is how much time will I be
willing to invest on the endless touch up/weathering.

Now it goes without saying of course you can achieve much much better result by using professional usage masking film and/or airbrush but the whole point of this is to provide folks who are without such hardware to pimp their war birds with common items  :D


You can download the template >>HERE<<


Sunday, April 28, 2013

Pimp My Inquisitorial Ride

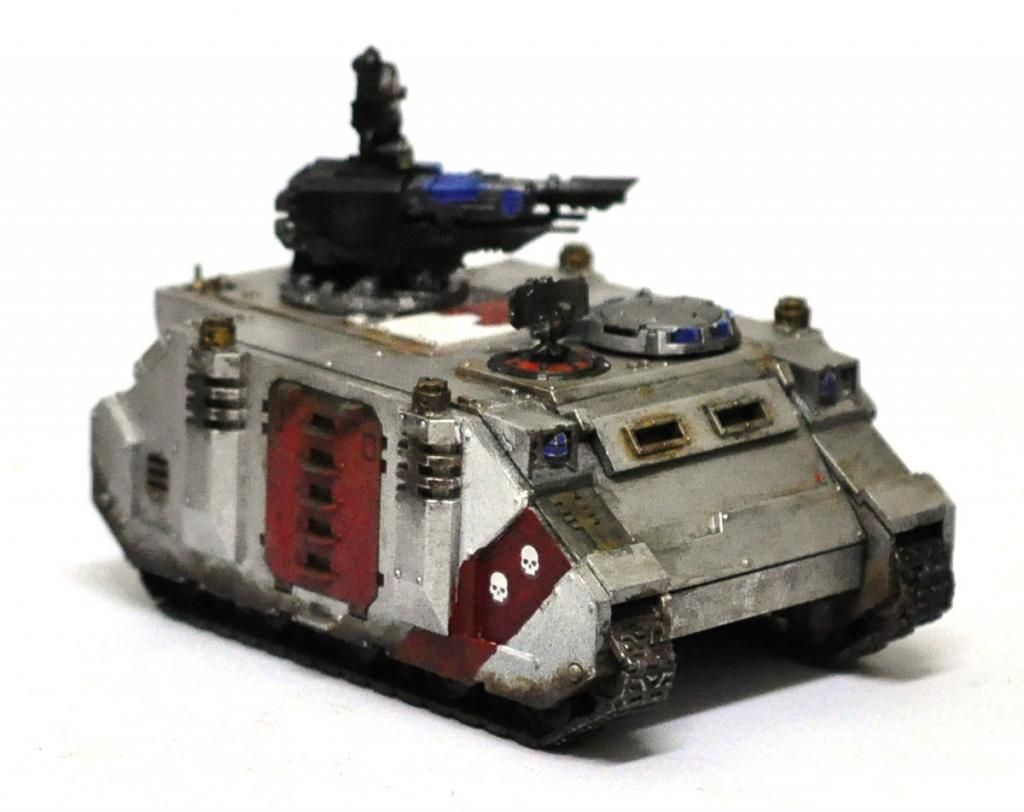
The lazy assembly of Grey Knight stuff continues. This is an experimental painting which started by spraying the rhino in base coat silver, and I made a grave mistake of using one with a smooth finishing ( Or do all silver spray come like that? That itself will be another subject worthy of inquisition...)

Also note the kit bashed stronos turret with bits from Aegis defence line. The end result is acceptable but the overall increase in center of gravity for the turret means unless it is tight fitted it will fall off given the slightest chance to do so, a small price for overall swag level increment.


Monday, April 22, 2013

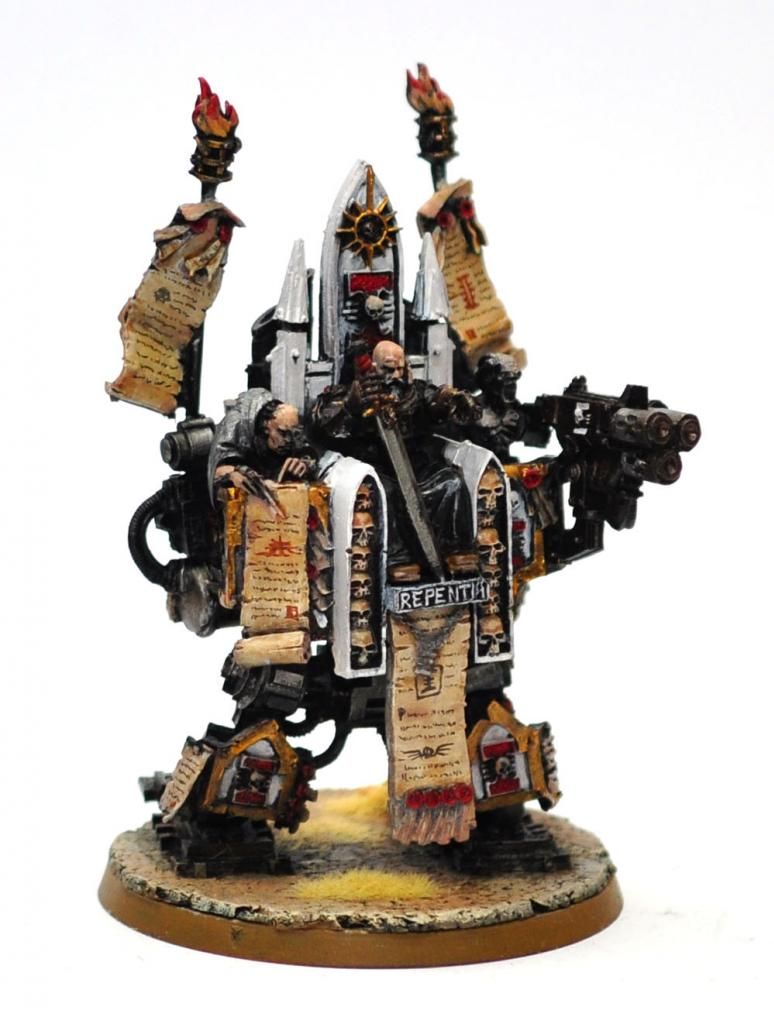
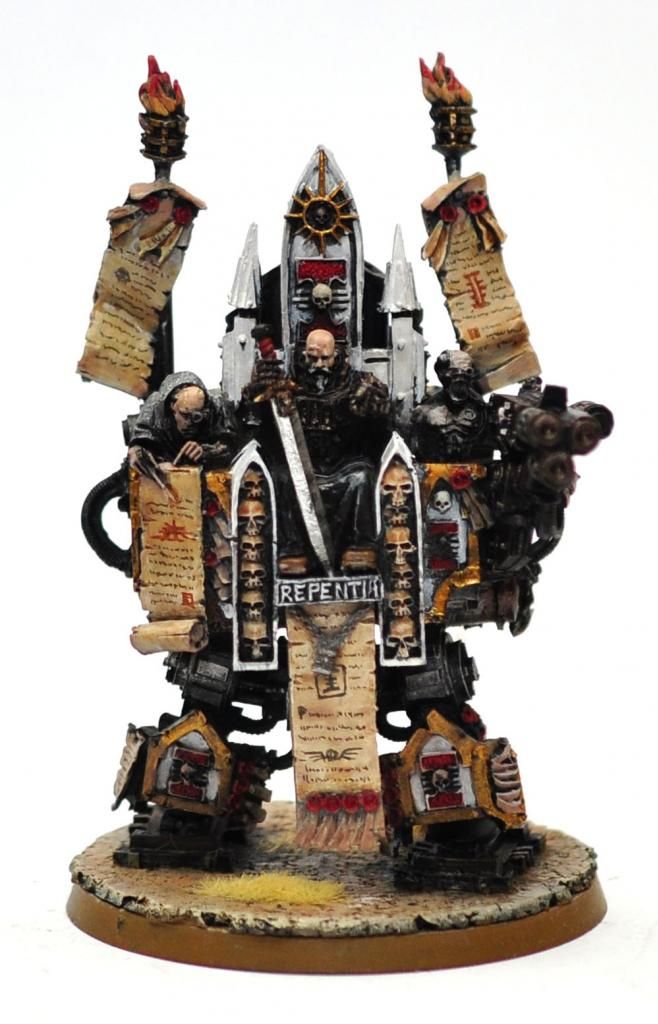
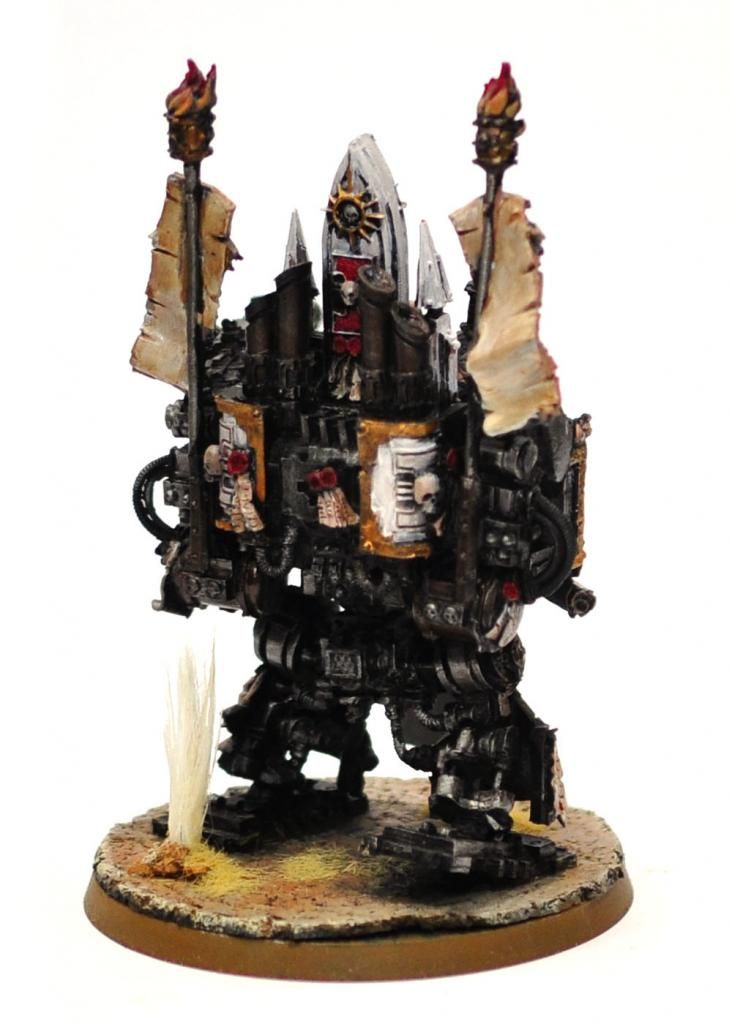
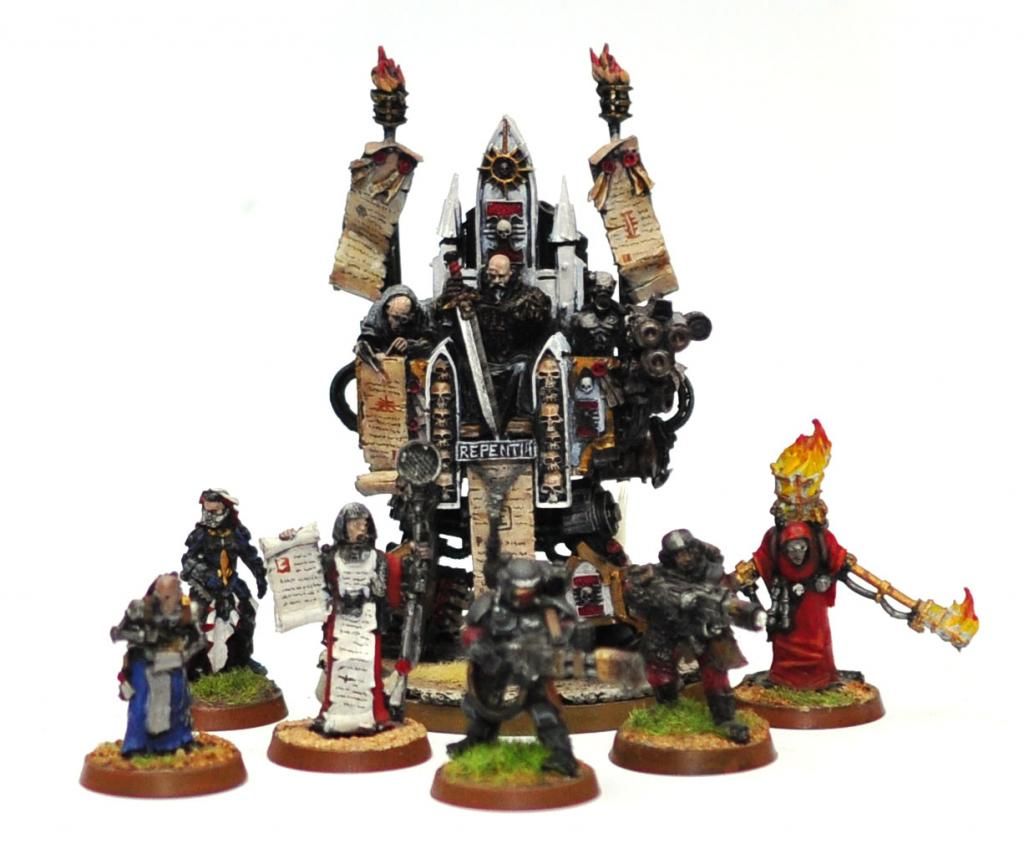
The Throne of Judgement Painting done, for now

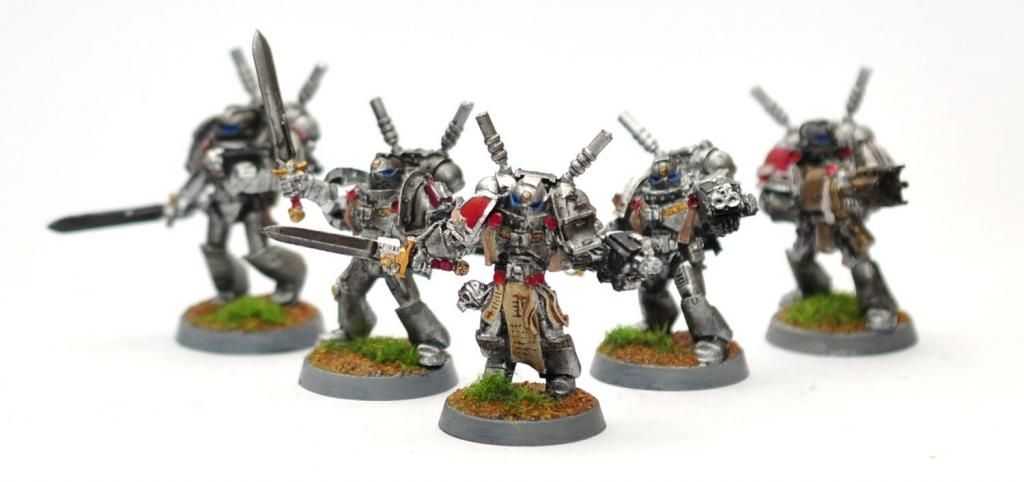
I must say I am a slow to warm up person, while a lot of people in my gaming group are jumping on to the Greater Good wagon only now I am slowly gathering my Inquisition force N years after the codex release date. This slow reaction to  "hot cheese" might be a sign of inner fundamental shift from looking at what to field to how to look good while fielding stuff... or simply could be sign of age.
Triple barrel multi melta, what is not to love about it?


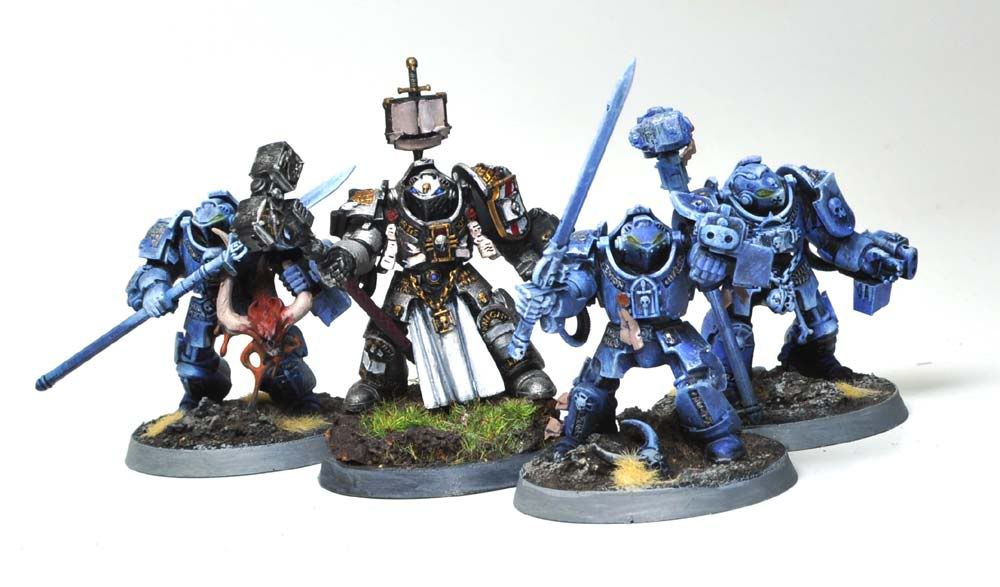
Kamarazov and his band of misfits.

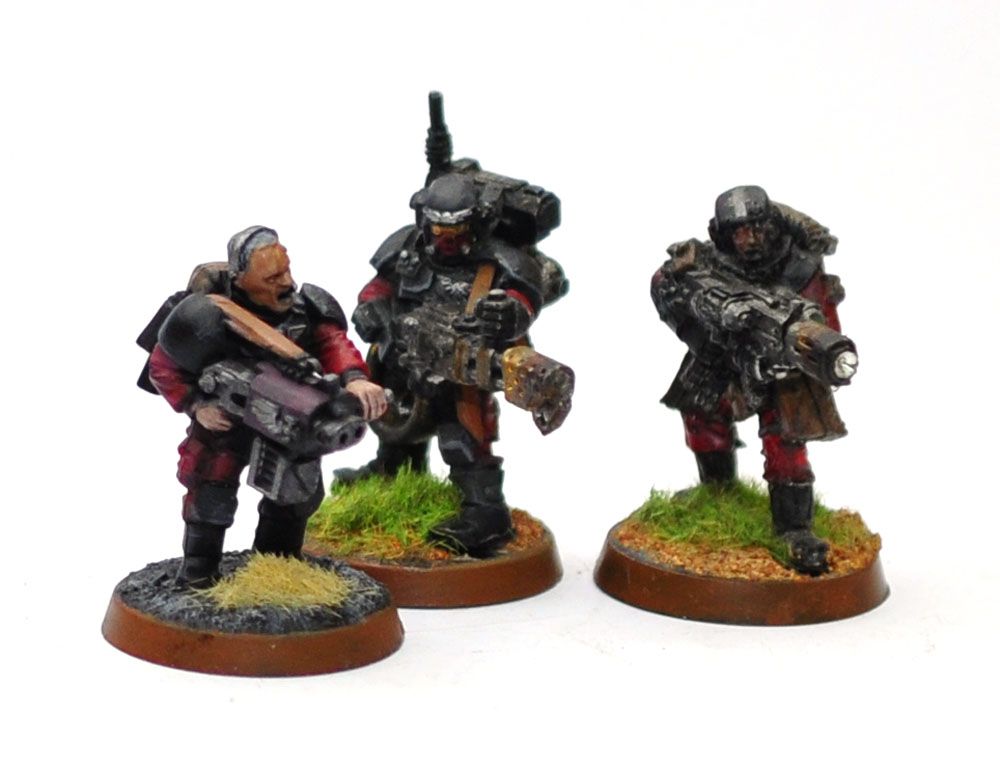
Warrior henchmen with assault weapons, on the left is a kit bashed storm bolter dude, middle guy from the old metal storm trooper box who will almost never find an employment in the elite unit anyway.

Interceptor squad.. yes I broke off one of the personal teleporter back packs antenna.
  >.<

Tuesday, April 16, 2013

Painting The Throne of Judgement


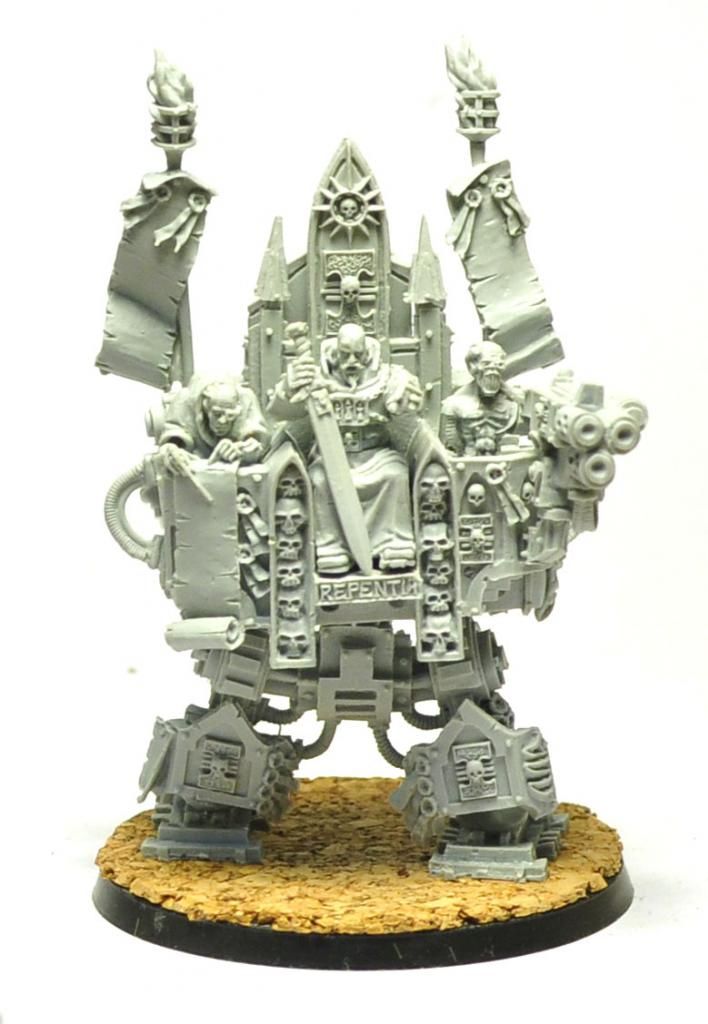
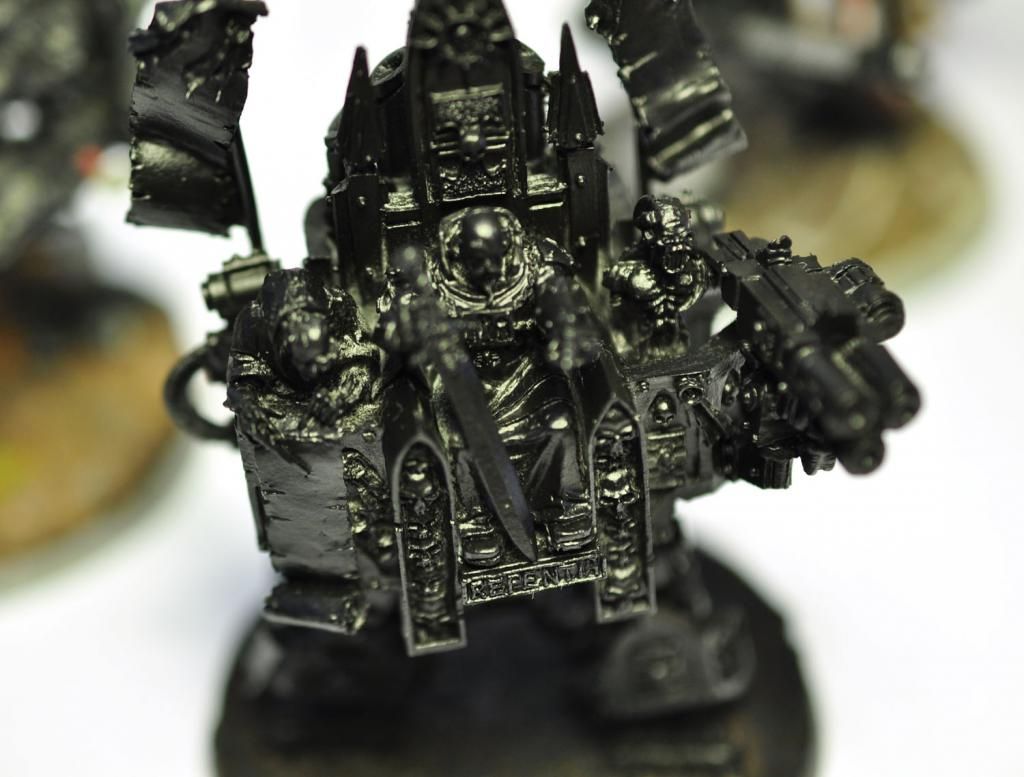
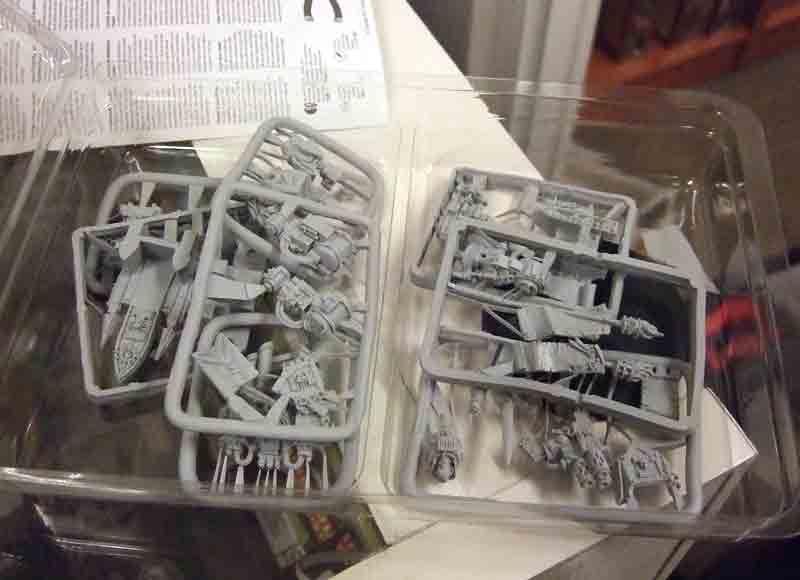
While working on the throne, I began to understand why Cheng vowed to ban fine cast. This stuff feels like resin but does not react in the same way to super and plastic glue, the whole experience felt... weird. To add insult to injury, upon close up inspection certain details / connecting parts just don't live up to the "fine cast" status they claimed nor does it felt justified the for the price they demand.

My verdict for fine cast? While it is "fine" per say but expect less than what is promised by the GW promotional text. Anyway I just got a new macro lens for my brother's DSL and wasted no time in documenting the painting effort.

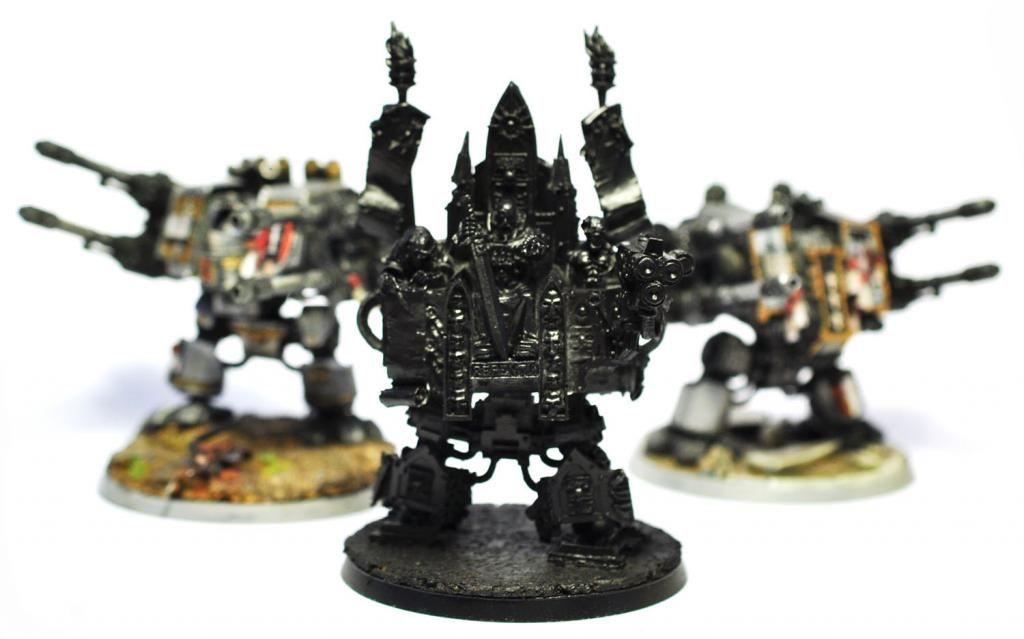
Primed and ready for paint!
Flanked by standard GK rifle dreads


Phase one painting complete, a few more hours into the details, details, details into this bad boy and he should be ready for battle.

Tuesday, February 19, 2013

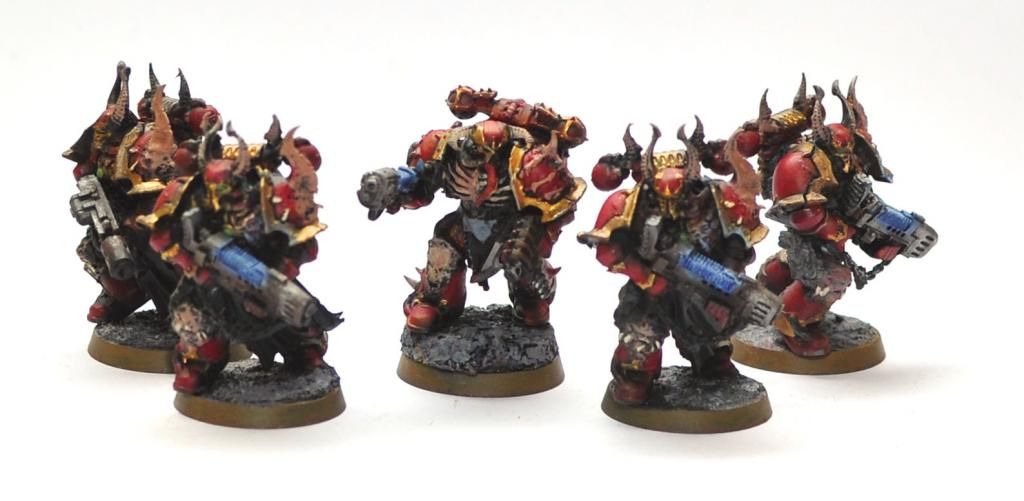
CSM Chosen Squad One done


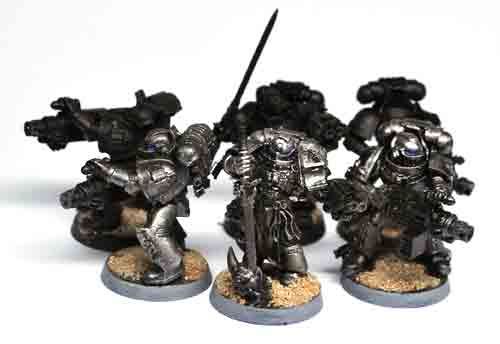
These guys... despite how bad @ss they look they never did survive well into the later stage of any games I have had with them. Their mean looks plus the big guns they carry have yet to fail on attracting fire power to them. Power armour being power armour they usually go down like rag dolls after delivering their salvo on to their sorry target.

Saturday, February 9, 2013

40k Cookies 1.5

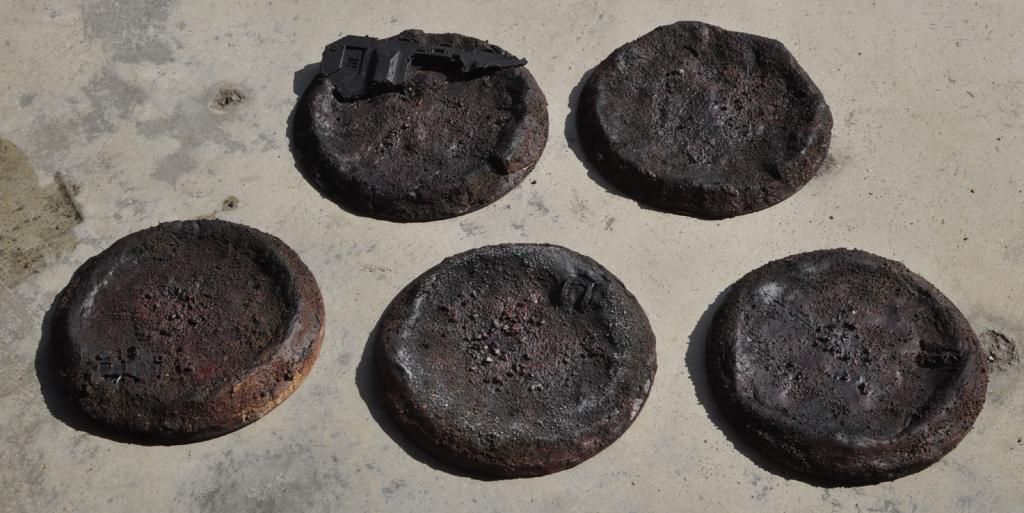
As shown in the earlier post I salvaged the damaged cookies, refit, re-primed and painted them together with a batch of 3 that were made half way last time for cookies batch 1.5. 

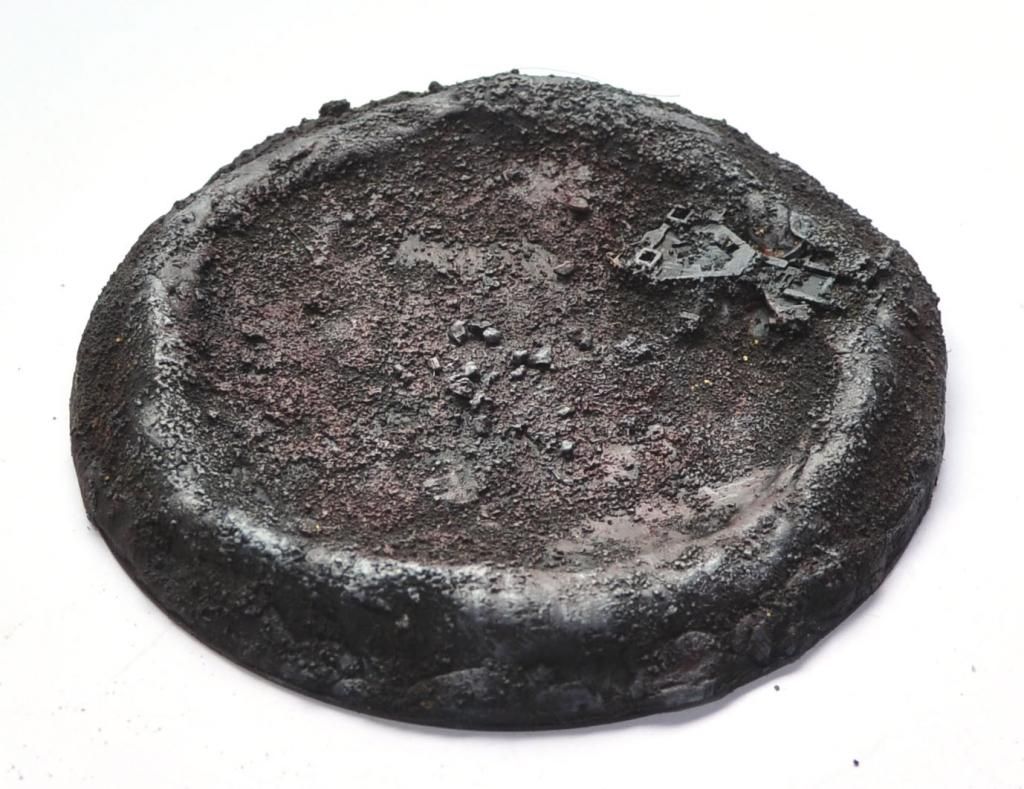
This time taking some excellent advice on how to paint a proper crater from this excellent tutorial.  I am quite happy with the end result, let us see how long will this batch can survive in the grim dark future.


Primed and left under the brutal sun, batch 1.5 is coming along fine

No cutting corners this time,. primed and painted for consistency 

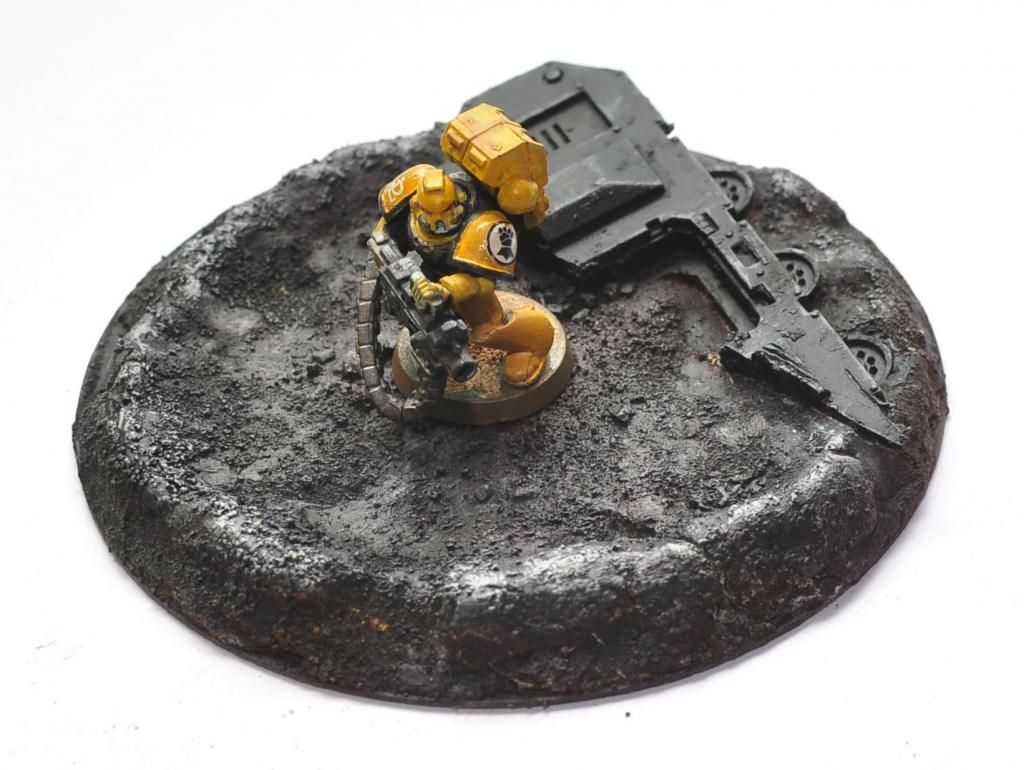
An Imperial Fist guarding a rhino wreckage, little did he know he costs more than 
1/3 of the ill fated vehicle


Friday, April 20, 2012

Throne's Blood... it is a fine cast!


I sure hope I know what I am doing... spending a sum that could get me a copy of Diablo III on an angry old man on a chair... anyway because of all the horror stories surrounding the suppose "fail cast" and the cost involved, I double check with Hobby forge's Alvin before I made the order -- that he will do the replacement request for me if the chair arrived in unsatisfactory condition.

As you can see that didn't happen, part of me is happy as things turned out the way it should be, part of me is sad because I could have gotten a spare chair, which might be very handy indeed, credits to Alvin for his patience on my pestering. Now comes the horror part: building and painting the chair.

Tuesday, April 3, 2012

Mordrak and Ghost Knights

Finally... no more proxy for Mordrak's gang of ghost knights... until the extra pops in, that is. Special thanks for Redeye donating the "extra" GKTs, for myself I might never get the to the point of painting them in ethereal form and forever locking them in the roll of being ghosts.

As of now, they can thump their chest and claims their stealth cover safe, WYSIWYG for the win!

Monday, March 12, 2012

WIP - Getting Ready for serious Purging

What can be better than a psycanon? How about 4 psycanons which can shoot with no line of sight?
On the center, hybrid model Justicar

Sunday, March 4, 2012

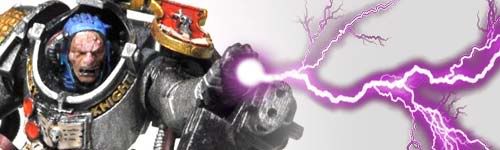
Grey Knight Librarian

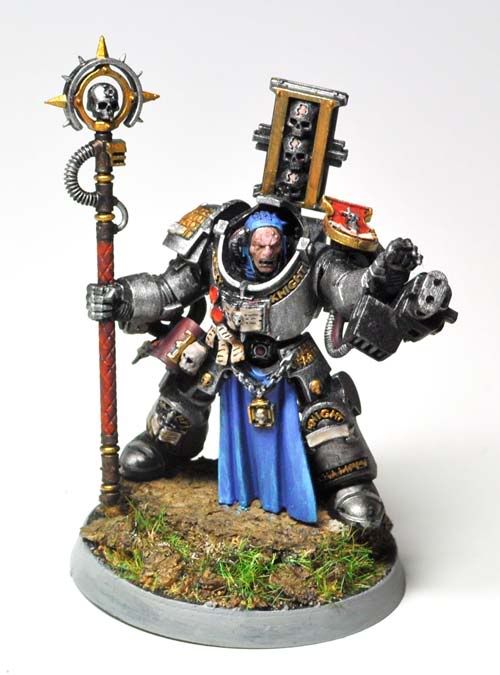
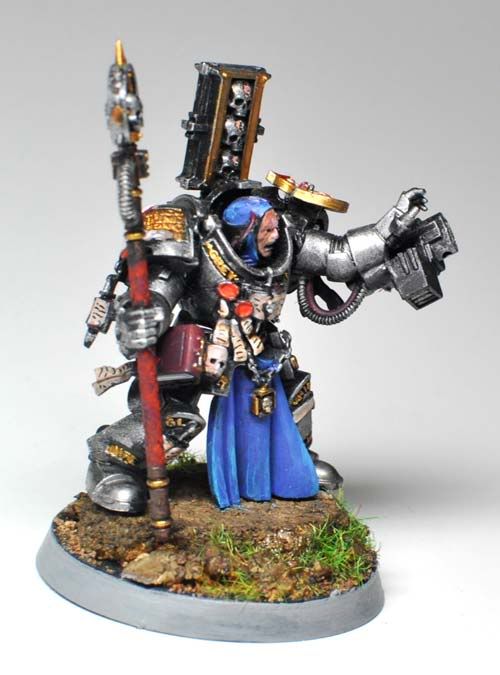
Have the fella done on Sunday night, I decided to use blue on his "inner hood" and loincloth as it is the colour use by standard Astartes librarian to remain the link. I might add detail motifs on the loincloth in the future but that is for another time.

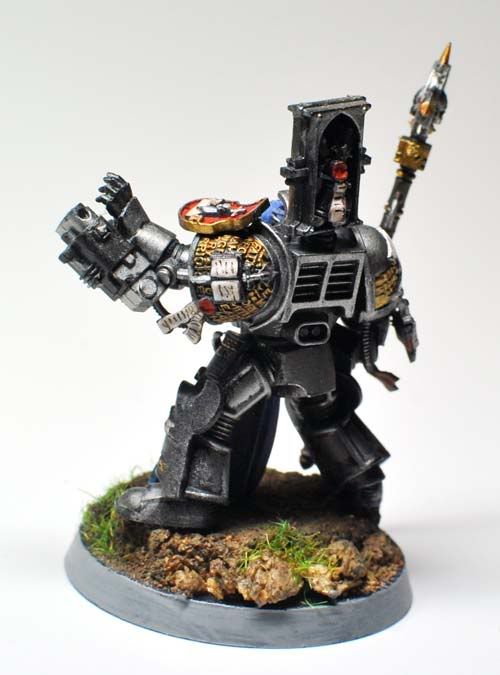
The big =][= on fella's back work double as an oversize deco and/or a teleport homer, just like how the Inquisition would make their war gear look like.


I also like my librarian looking closer to the illustration in the codex then the one GW suggested using, then again this is simply a matter of taste.
Hmm.. close enough!
Now DIe!

Friday, March 2, 2012

It is hammer time, but we need more hammers!

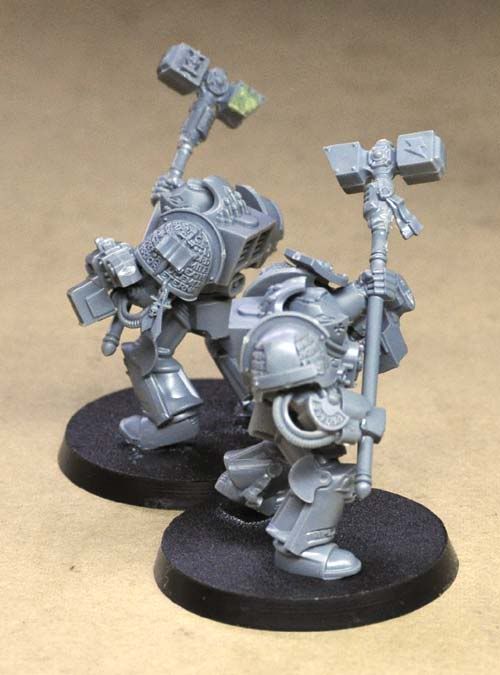
As I am rolling on my daemon hunting business it became apparent having terminators as troops that are equipped with grenades is a bliss, it also became apparent that you will need more daemon hammers to dish out str10 punishments to any nasties you will be encountering.

This is then again GW's infinite wisdom on sly marketing come into play -- you only get ONE daemon hammer per grey night terminator box, but they left you with plenty of nemesis falchions, bless the throne. To add insult to injury, directly using a space marine terminator arm with thunder hammer will make your grey knight look a bit .. awkward, as they simply carry and configure the weapon in different ways, not to mention the arm piece look totally different.

A quick if not obvious solution to this little crisis is to cut the standard thunder hammer, using the pinning method to join with cut lower half of a nemesis halberd and vola! DIY cheap nemesis daemon hammer. Also note the blings from the new power armoured grey knight shoulder pad can be cut and glued to the hammers, providing the almost compulsory =][= on your improvised hammer if you desired it.


Originally a space wolf hammer on the left and a standard thunder hammer on the right
hobby drill in this matter is the essential tool for achieving this, without pinning the hammer simply won't hold;  if you don't have one yet but wish to venture in this hobby I would strongly recommend it.

Wednesday, February 29, 2012

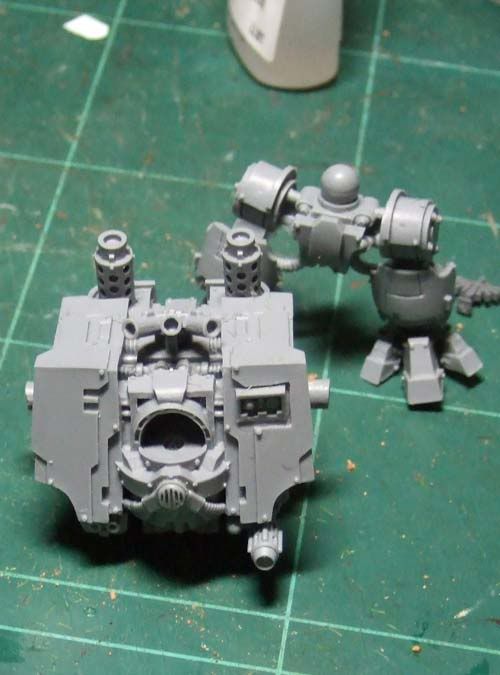
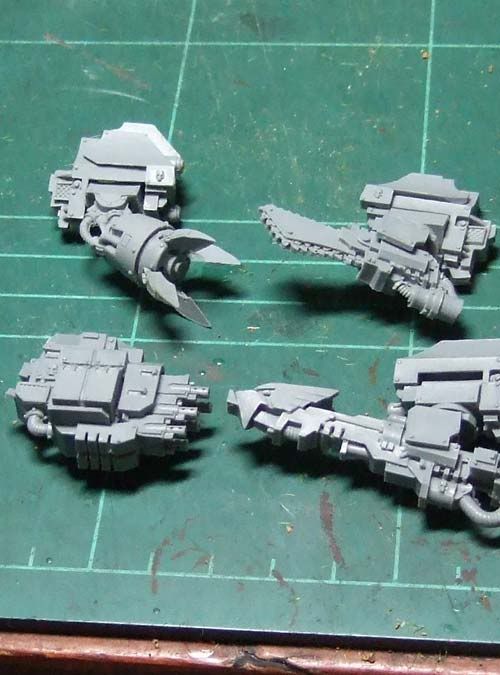
My First Forge World Iron Clad


This was done sometime ago, I blame the massively impressive Badab War books for showing off their awesome looking FW Iron clad dreads. Roll for leadership against temptation, rolled 12, fair enough...

The cleaned torso and legs.

Full spectrum war gear!

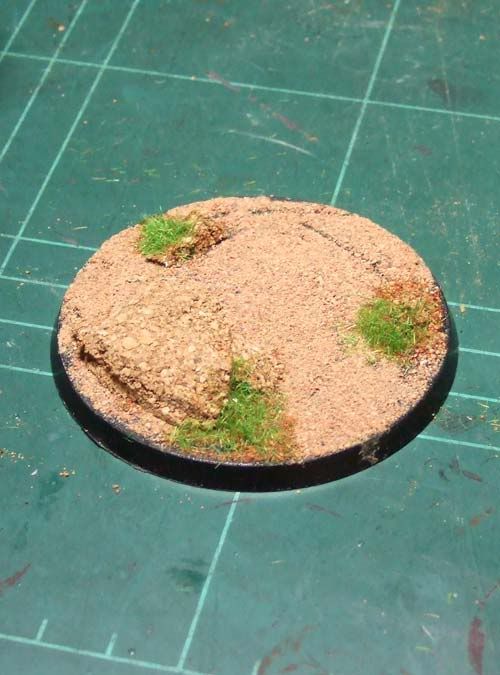
Got the base done first to suit the pose of the leg

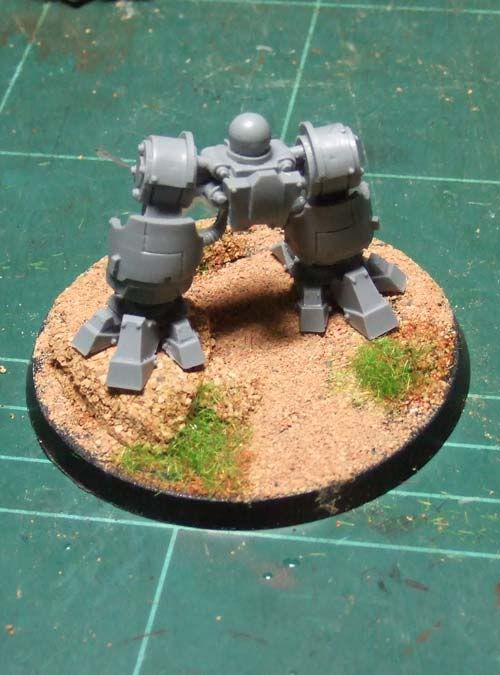
This is what I really like about FW dread over GW dread... the legs can be posed in a way to represent some motion.

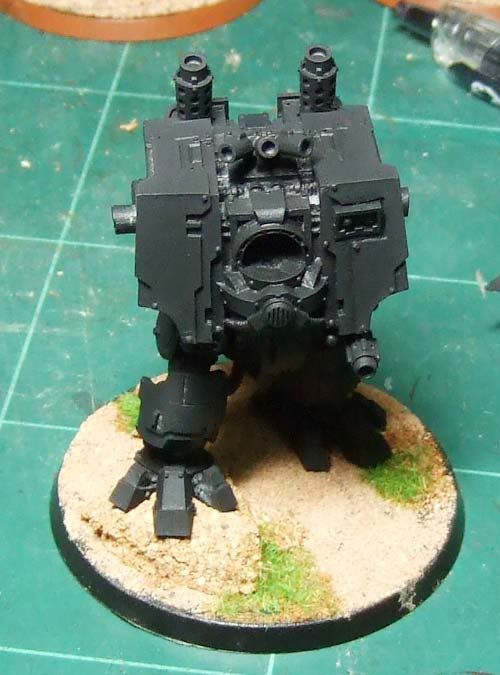
After pose confirmed, priming is done

Ho ho, long nights of paintings ahead...

Only things left to do now is chapter logo and tertiary details, that is when I hit snail speeeeed...  this last picture was taken with a DSLR rather then a noob camera; as you can see, the preparation, lightning and imba gear made all the difference.